Address
304 North Cardinal
St. Dorchester Center, MA 02124
Work Hours
Monday to Friday: 7AM - 7PM
Weekend: 10AM - 5PM
Address
304 North Cardinal
St. Dorchester Center, MA 02124
Work Hours
Monday to Friday: 7AM - 7PM
Weekend: 10AM - 5PM

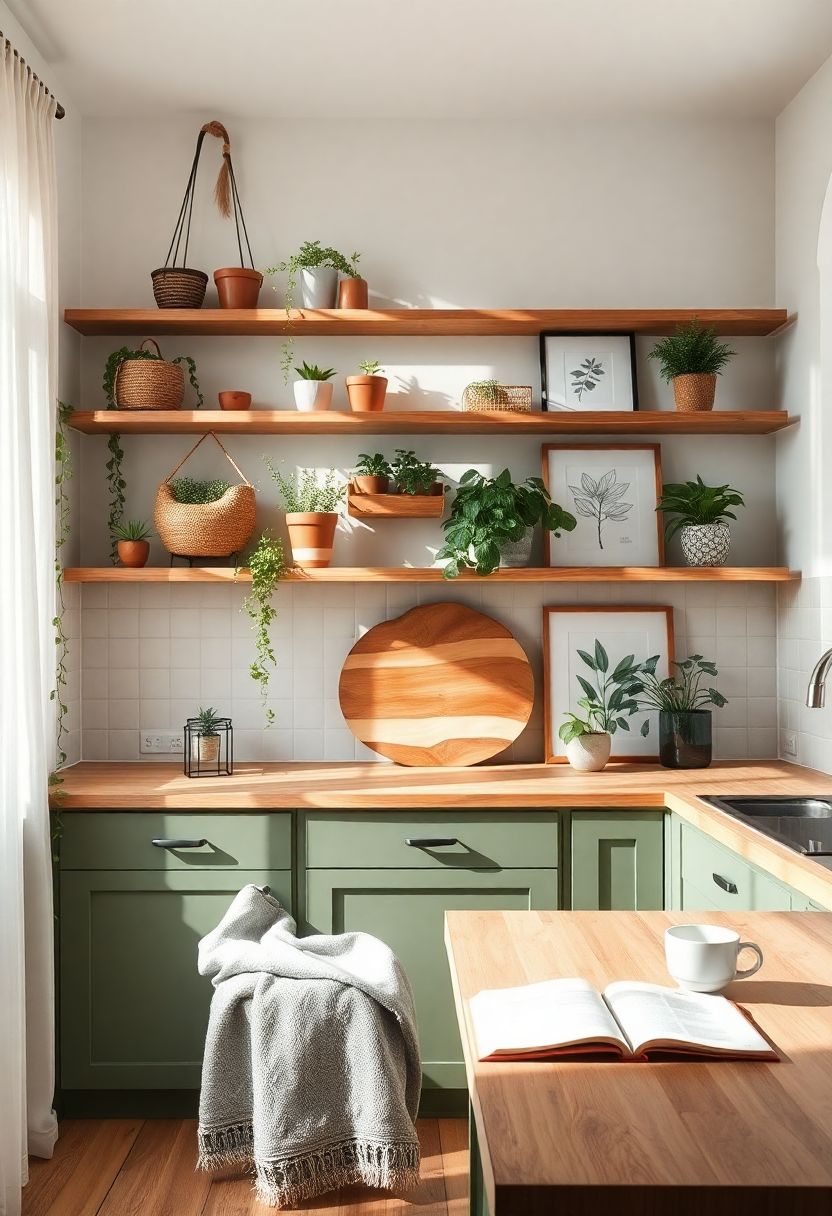
Many homeowners love the idea of a green kitchen decor but feel intimidated by cost or space constraints. In a recent project, I transformed a compact galley kitchen into an inviting botanical haven without breaking the bank. Below, I share 7 easy budget biophilic kitchen DIY hacks to bring life and texture to your cooking space. Whether you’re passionate about DIY kitchen plants or looking to upgrade your kitchen plant storage, these ideas will help you craft an affordable organic kitchen that feels both serene and functional.
Designer’s Note: One mistake I see often is neglecting natural light. Let your windows do the heavy lifting when styling your biophilic kitchen.
I often advise my clients that the key to budget biophilic kitchen styling is layering simple, low-cost elements. You don’t need an expensive green wall to achieve a lush feel.
Designer’s Note: Start small – even a single trailing ivy plant can anchor your kitchen plant storage solution.
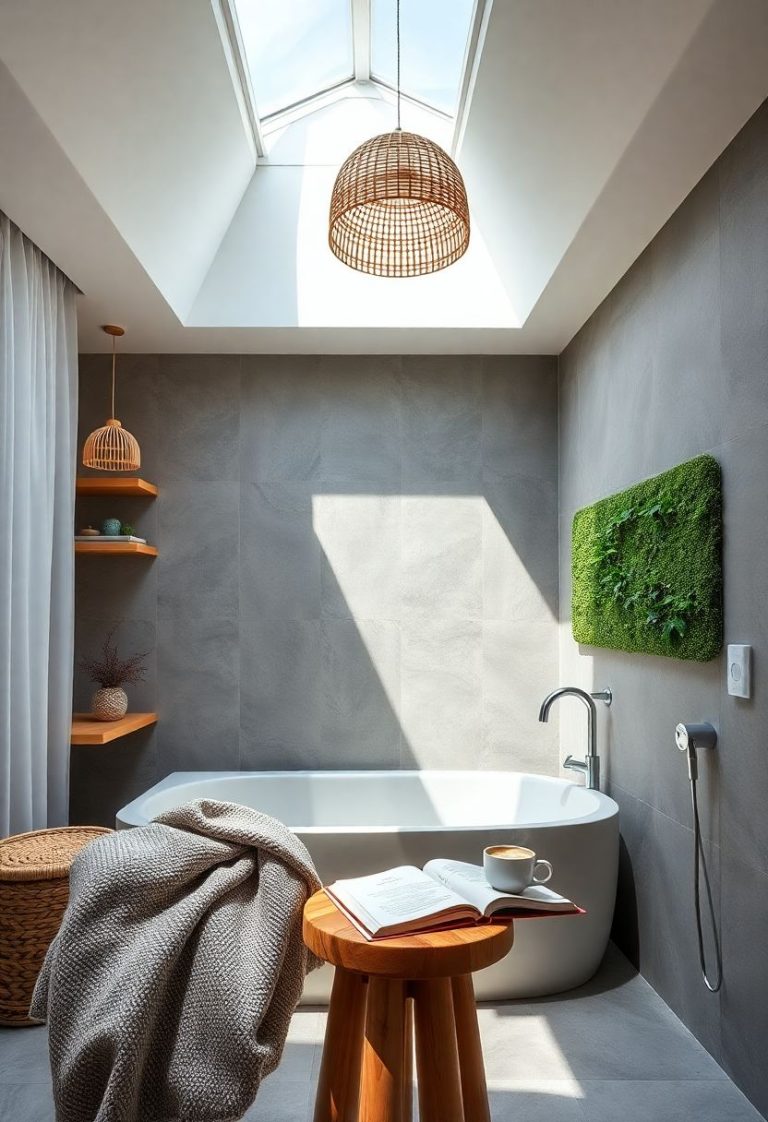
In a recent project, I installed knotty pine shelves beneath a skylight and suspended terracotta planters on leather cords. This simple upgrade became the focal point of the space.
Designer’s Note: Choose leather or cotton straps for hanging planters to reinforce the organic textures of your affordable organic kitchen.
Terracotta pots bring warmth, while white ceramic adds a clean, modern contrast. I often advise my clients to collect mismatched pots from thrift shops and paint a few in matte moss green for cohesion.
Pro Tip: Seal terracotta with a natural beeswax finish to reduce evaporation and keep your DIY kitchen plants thriving.
One mistake I see often is forcing industrial bins into a biophilic scheme. Instead, I sourced handwoven seagrass baskets for under-sink storage and recycling bins, adding texture and warmth.
Designer’s Note: Baskets double as stylish kitchen plant storage when you nest a potted fern or trailing ivy inside.
I often find outdated laminate counters in tight budgets. In a recent kitchen makeover, we layered a live-edge wood slab over existing surfaces and sealed it with food-safe oil.
Pro Tip: Position cutting boards near windows to catch soft natural morning light and highlight organic grains.
Painting upper cabinets in matte moss green instantly injected life into a neutral palette. I often mix two sample pots to get a custom shade that feels both vintage and fresh.
Designer’s Note: Pair with brass hardware for a sophisticated twist on green kitchen decor.
A live-edge cutting board doubles as art when propped against the backsplash. In one design, I layered it in front of botanical line art prints for a gallery-like vignette.
Pro Tip: Rub boards with citrus and salt to remove odors and enhance the natural patina.
Finishing touches matter. I often advise framing simple black-and-white botanical sketches in natural wood frames to echo the organic textures throughout the space.
Designer’s Note: Position prints near kitchen plant clusters to reinforce your budget biophilic kitchen narrative.
Save “Transform Your Kitchen into a Lush Oasis on a Budget: 7 Easy Biophilic DIY Ideas You’ll Love!” to your Pinterest boards and start your project today!