Address
304 North Cardinal
St. Dorchester Center, MA 02124
Work Hours
Monday to Friday: 7AM - 7PM
Weekend: 10AM - 5PM
Address
304 North Cardinal
St. Dorchester Center, MA 02124
Work Hours
Monday to Friday: 7AM - 7PM
Weekend: 10AM - 5PM

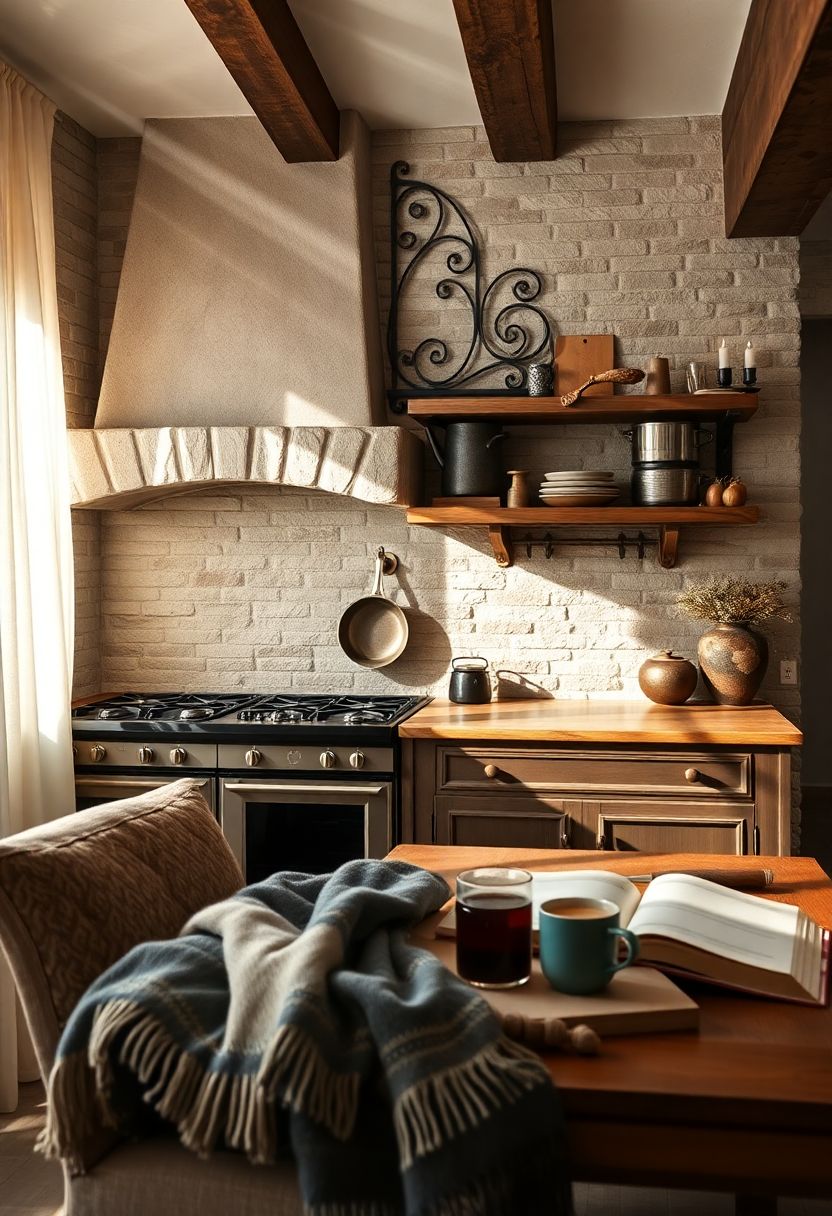
In a recent project, I guided a family through a budget kitchen makeover, transforming a plain layout into a Castlecore kitchen that feels straight out of a medieval castle. I often advise my clients that achieving a luxurious, DIY luxe kitchen doesn’t require a massive budget—by choosing strategic, easy upgrades, you can conjure the soft candlelit ambiance of aged stone walls, dark oak beams, and tarnished brass fixtures. Below, I share seven DIY luxury looks to help you achieve medieval kitchen decor without breaking the bank.
One mistake I see often is attempting full-scale renovations before layering in textures and accents; skip that pitfall by focusing on these key elements first.
Designer’s Note: Lighting is crucial to sell the castlecore kitchen vibe—start with LED strips hidden under shelves or inside cabinetry to recreate that candlelit glow without hassle.
Adding faux stone backsplash panels is one of the easiest ways to introduce the look of aged stone walls in your Castlecore kitchen. In a recent project, I installed interlocking panels directly over existing tile, creating an authentic medieval kitchen decor feel.
Designer’s Note: Under-cabinet lighting sets off the texture beautifully, reinforcing that soft candlelit ambiance without expensive rewiring.
Installing a wrought-iron pot rack draws the eye upward to dark oak beams and keeps cookware within easy reach—perfect for a budget kitchen makeover with medieval flair. I often advise my clients to scout salvage yards for authentic iron pieces that can be refreshed with a DIY luxe kitchen makeover.
Pro Tip: Spray a thin layer of metallic paint on older racks to mimic antique brass without the high-end price tag.
Reclaimed wood open shelving adds warmth and a lived-in sense of history. In another Castlecore kitchen project, we swapped upper cabinets for reclaimed oak boards, instantly enhancing the medieval kitchen decor narrative.
Designer’s Note: A well-chosen shelf bracket painted in bronze ties shelving into the overall vintage theme.
Swapping out standard hardware for antique brass cabinet pulls is a subtle, yet impactful, DIY kitchen decor upgrade. I often recommend this as a first step in any budget kitchen makeover to achieve a cohesive medieval look.
Pro Tip: Rub cabinet pulls with a fine steel wool pad after installation to reveal natural patina over time.
Candle-style wall sconces reinforce that soft candlelit ambiance crucial to a true Castlecore kitchen. I often advise clients seeking a DIY luxe kitchen feel to consider battery-operated LED candles for safety and convenience.
Designer’s Note: Position sconces at eye level to cast flattering shadows on your faux stone or plaster accent walls.
Simulating dark oak beams with faux beam kits brings medieval architecture peaks into your home without structural changes. In my experience, this inexpensive DIY luxe kitchen trick offers maximum visual impact.
Pro Tip: Run a small LED track above beams for uplighting that accentuates the textures and deep jewel tones in your palette.
Transform your kitchen island into a statement piece with a coat of deep emerald or sapphire paint. This final touch unites the aged stone walls, dark oak beams, and medieval kitchen decor elements into a cohesive whole.
Designer’s Note: Top with a reclaimed wood butcher block for contrast and practicality, completing your budget kitchen makeover.